
Using Transfer Paper With Henna
This tutorial applies to any natural body art, including henna, jagua and jagua-henna
A lot of people ask whether stencils work with henna, or if I carry them in my shop. I understand why - when you’re new to it, henna can feel pretty intimidating! Even for more experienced artists, there may be certain styles that are challenging. Personally, Celtic knots are my Achilles heel!
Unfortunately, stencils aren’t a great solution for this. The henna tends to get underneath the adhesive and the result is a bit messy. Not only that, you’ll have to get different stencils for every design you want to do; and you can’t adjust the size for different people / body parts etc.
Transfer paper is perfect for henna! You can use any design you want. One that you spent time drawing/erasing/adjusting until it’s just so, or even one you’ve printed off or had a friend design for you. It’s versatile and easy to use.
Keep reading for my tutorial, or jump to the video
How To Use Transfer Paper
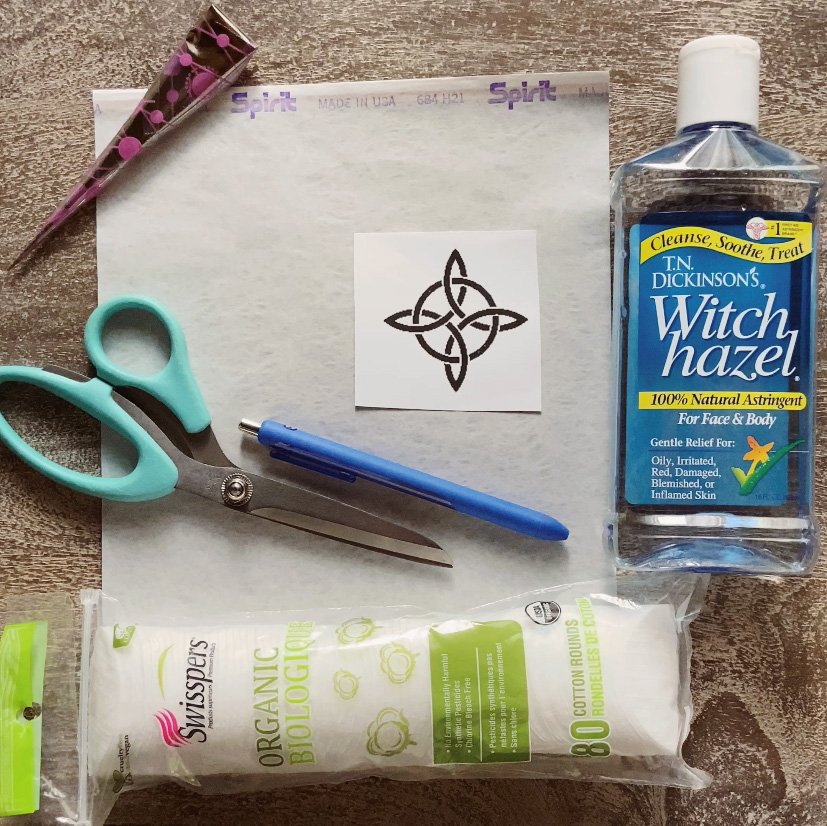
Here’s what you need:
Henna (or jagua or jagua-henna)
Witch hazel (Easy to find at the drugstore. Rubbing alcohol might also work, but can dry too quickly)
Cotton pads or cotton balls
Scissors
Your design, trimmed to remove excess borders
A pen
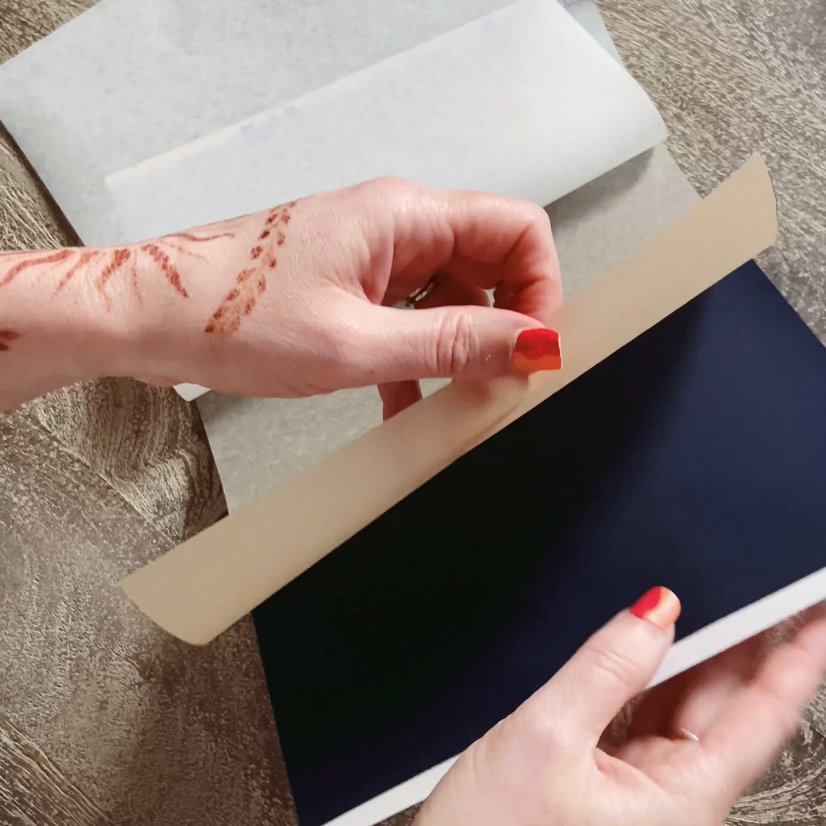
Separate the sheets
You’ll notice the transfer paper has 3 sheets. The top white tissue paper sheet, a brown center sheet and then a thick dark-blue ink sheet.
Gently pull the center brown sheet out and set it aside.
Set the other sheets down, with the white tissue paper on top.

Get your design
Place your drawing directly on top of the transfer paper. Again, the thin tissue paper should be on top and the ink sheet should be on the bottom.

Trace the drawing
Carefully trace over all the lines in your drawing. Press firmly, but don’t go crazy. If you press too hard you might tear the tissue paper! So be gentle but firm.

Set your drawing aside.
Now, you’ll notice the ink has transferred to the tissue paper where you traced!
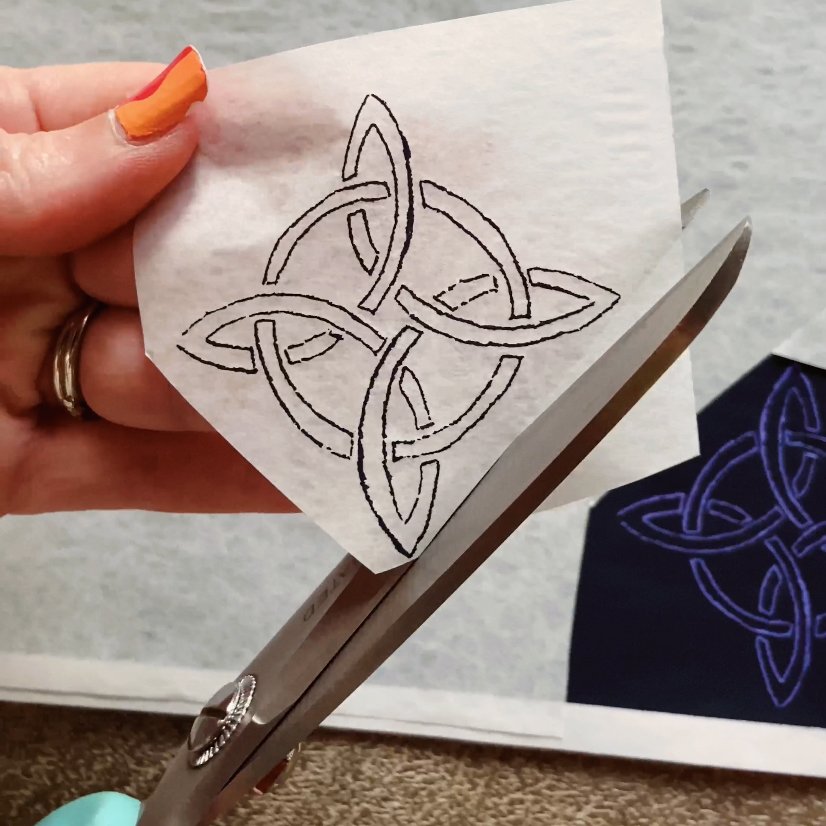
Cut out the transfer
Use your scissors to carefully cut your design out. Trim off any large borders. This will make it easier to apply to your skin later.
Set this aside, ink side up.

Wipe the skin with witch hazel
Next, saturate the cotton with your witch hazel (or rubbing alcohol) and wipe down all of the skin where the design will go. You want to leave the skin with a nice sheen so that it’s damp but not wet. If it’s really wet, let it air dry for a 5-30 seconds until it’s just damp.
This is what will transfer the ink to your skin. If it’s too wet, the ink will bleed and your transfer will be blurry.

Apply the transfer to your skin
Carefully place the transfer, ink side down, onto the skin. Gently press it in place so it’s fully stuck down.

Gently press for a few seconds
Press down on the transfer to make sure it’s making good contact with the skin. Just don’t go overboard, you don’t want to cause it to wrinkle. It might help to use a folded washcloth under your hand to create a “flatter” area to press down.
Press for 5-10 seconds.
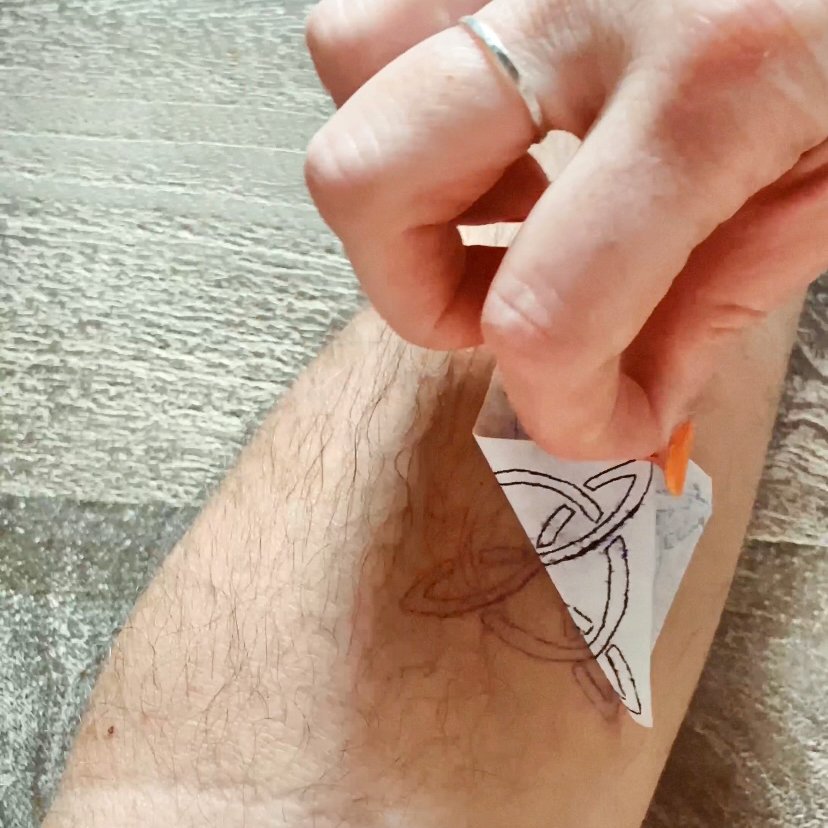
Peel away the transfer
Grab one edge of the transfer and gently peel it back up from the skin.

Perfect!
Now you’ve got the ink transferred to your skin, ready to be traced over with your henna!

Trace your design
Apply your henna directly over the ink. Don’t worry, the ink is temporary and will be barely noticeable when you’re done. It will fade on it’s own in about a day.

That’s it!
Follow our aftercare instructions to get the best stain possible!
Here’s our video walkthrough